How to photograph jewelry with your phone: six shots that sell a piece
In short
- Shoot next to a window on an overcast day. Direct sun and the built in flash both wreck metal.
- Turn the flash off, tap to focus on the stone, then drag the exposure down. Phones overexpose bright metal by default.
- Use a plain, pale, non reflective background. Paper, linen or a matte card beats velvet and beats a busy table.
- Six shots do the job: full piece, angle, back, hallmark close up, scale reference, and an honest photograph of any flaw.
- Crop, straighten and correct the white balance. Do not cut the piece out onto a fake background, and do not boost the saturation of the stones.
A phone camera is more than good enough to sell jewelry. What sinks most listing photographs is not the camera, it is direct sun, the built in flash, a patterned tablecloth and a phone that is trying to be helpful about exposure.
Light: one window, no flash
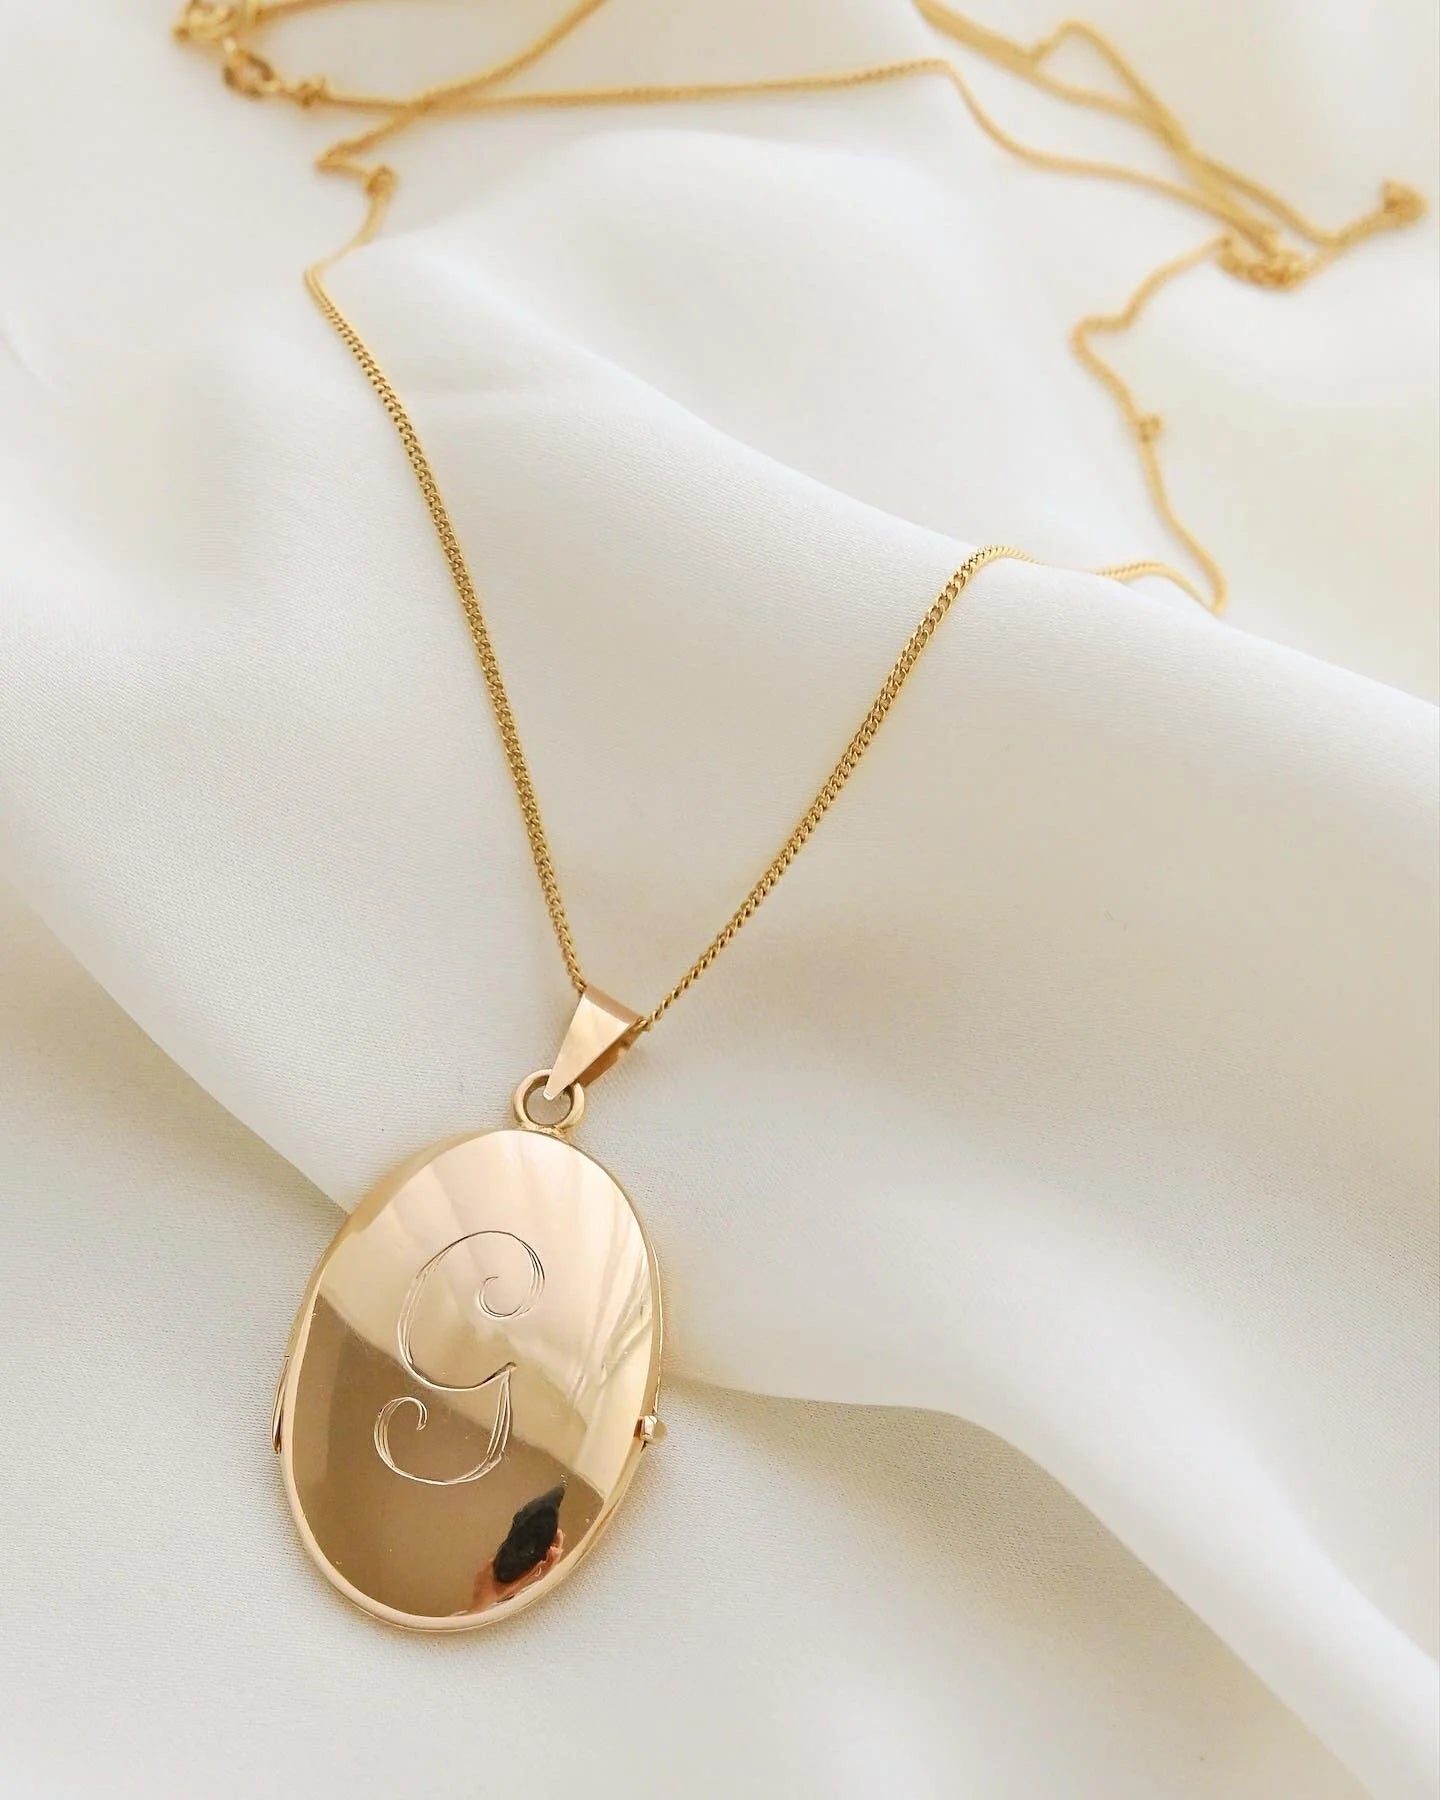
Put the piece on a table next to a window, out of direct sunlight. An overcast day is ideal, because cloud is an enormous softbox. Direct sun creates hard black shadows and blown out white highlights on polished metal, and there is no fixing that afterwards.
Turn the flash off and leave it off. An on camera flash fires straight down the same axis as the lens, so a polished surface bounces it directly back and you get a white blob where the detail was.
If you have to shoot in the evening, do not point a lamp at the piece. Point the lamp at a white wall or a sheet of white paper and let the light bounce back. Bounced light is soft light.
Background: plain, pale, matte
A sheet of white or cream paper, a piece of plain linen, or a matte card. That is the whole list.
Curve the paper up behind the piece rather than laying it flat, so there is no visible horizon line and no room reflected in the metal. Avoid black velvet, which eats detail, glass and mirrors, which double every reflection, and anything patterned, which competes with the piece.
Neutral backgrounds also make white balance correction possible later, because the camera has something genuinely neutral to reference.
The settings that actually matter
- Tap to focus on the most important part of the piece, usually the main stone or the hallmark.
- Drag the exposure slider down after tapping. Phones consistently overexpose bright metal, which is why gold photographs muddy and brown. Underexposing slightly keeps the highlights and the colour.
- Use the main lens, not the digital zoom. If your phone has a macro or 2x lens, use it for close ups. Digital zoom is just cropping with extra noise.
- Do not go closer than the lens can focus. Back off and crop afterwards. A sharp crop beats a soft close up every time.
- Steady the phone. Brace your elbows on the table, or prop the phone against a book, and use the two second timer so your finger does not shake the shot.
Get the piece off the flat table
A ring lying on its side photographs badly. Prop pieces up so they sit as they would be worn.
- A ring stands up in the slot of a folded card, or in a tiny lump of museum putty.
- A chain drapes better over a curved object than it lies in a puddle.
- Earrings should be photographed as a pair, facing the same way.
- A brooch can lean against a small block hidden behind it.
Nothing you use to prop the piece should show in the frame.
The six shots
- The full piece, straight on. Sharp, filling the frame, front lit. This is the photograph that sells the click.
- An angled shot. Three quarter view showing depth, the height of the setting and the shape of the shank or the mount.
- The back. Serious buyers look at the back first. It shows construction, repairs and the quality of the work.
- The hallmark, close up. Macro mode, well lit, in focus. Even a worn mark is worth photographing, and a buyer would rather read it themselves.
- Scale. The piece next to a ruler with millimetres, or on a hand. A ring photographed on a finger tells a buyer more about size than any number.
- The flaw. The scratch, the thin spot, the repair, the replaced stone, the chip. Photograph it clearly and mention it in the description.
That sixth shot feels like it will cost you a sale. It does the opposite. A visible flaw in the listing is a flaw the buyer accepted before paying. An unphotographed flaw is a dispute waiting for the parcel to arrive.
Editing: correct, do not create
Acceptable and useful:
- Crop and straighten.
- Correct the white balance so the metal is the right colour and the background is genuinely neutral.
- Modest brightness and contrast adjustment.
- Removing a dust speck from the background.
Not acceptable:
- Cutting the piece out and dropping it onto a fake background.
- Boosting saturation until the stones glow a colour they do not have.
- Smoothing away scratches, or sharpening until the detail turns crunchy.
- Filters of any kind.
The test is simple. If the buyer unwraps the parcel and thinks the piece looks worse than the photograph, the edit went too far. People buying second hand jewelry want evidence, not advertising, and an honest photograph converts better than a beautiful lie.
Three faults, three fixes
- Gold looks brown or grey. The shot is overexposed, or the white balance was set by a warm bulb. Lower the exposure, shoot in daylight, correct the white balance against a white part of the frame.
- Your reflection is in the metal. Shoot from slightly above rather than straight on, wear something plain and pale, and curve a sheet of white paper around behind and to the sides of the piece.
- The stone photographs black. The stone is reflecting a dark room. Add a piece of white paper opposite the window, low down, so the stone has something bright to reflect.
Once the photographs are done, the rest of the listing is straightforward. Our guide to selling antique jewelry online covers pricing, description and safe shipping, and you can see how pieces are presented on Nextmine for reference.
Common questions
Do I need a lightbox?
No. A window with indirect daylight gives softer, more natural light than most small lightboxes, and it renders gold colour correctly. If you shoot in the evening, one lamp bounced off a white wall or a sheet of paper works better than a light aimed straight at the piece.
Why does my gold look brown or grey in photos?
Two reasons. The phone is overexposing, so the highlights blow out and the mid tones go muddy, or the white balance is set by a warm indoor bulb. Lower the exposure with the slider, shoot in daylight, and correct the white balance afterwards using a genuinely white part of the frame.
How do I keep my own reflection out of the metal?
Polished metal is a mirror. Shoot from slightly above rather than straight on, wear something plain and pale, and keep the phone as far back as focus allows, then crop in. A sheet of white paper curved behind and around the piece hides most of the room.
Should I remove the background or use AI editing?
Keep the real photograph. Buyers of second hand jewelry are looking for evidence, and a cut out or heavily retouched image removes exactly the detail they use to judge condition. Cropping, straightening and modest brightness and white balance correction are fine. Anything that changes what the piece looks like is not.
Can I use the seller's photos from where I bought it?
No. Photograph your own piece. Someone else's images show a different item in a different condition, they usually belong to that seller, and a listing built on borrowed photos is the single fastest way to lose a buyer's trust.
Nextmine is a marketplace for jewelry that has already had one life. Buyers pay into escrow, sellers are paid once the piece has arrived, and every listing is someone's own photographs of their own piece.
Browse the pieces for sale·How payments work·Questions and answers